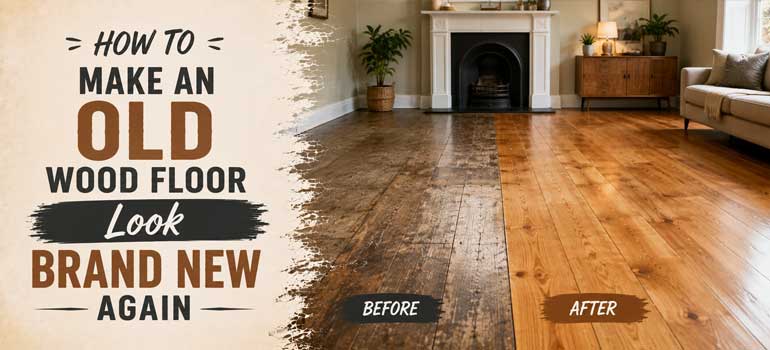
Wood flooring has been a fixture in homes for generations, and with that long history comes a lot of floors that have earned the description "old" many times over. The good news is that age alone rarely means a floor is beyond saving. With the right process, cracking, staining, dulled finish and years of grime can all be addressed, and the floor can look close to newly installed again.
How many times restoration is realistically possible
Solid wood flooring can typically be sanded and refinished up to around 7 times over its lifetime, depending on the original thickness of the boards. That means a floor can be brought back to a near-new appearance repeatedly across many decades, without the cost of full replacement. It's worth being honest, though, that this capacity isn't unlimited: each sand removes a small amount of material, and older floors that have already been through several restorations have less capacity left than one being sanded for the first time. A professional assessment can confirm how much life a specific floor has left before recommending the approach.
Cleaning: preparing the floor before anything else
Old floors often show up in rough condition, with cracking, staining, old paint splatter, years of built-up grime and a worn finish are all common. Starting with a thorough vacuum removes loose dust and debris, and where that's not enough, a mop with a hardwood-specific cleaning product handles the rest. The goal at this stage is simple: get all dust and grime off the surface before sanding starts, since sanding over dirt just grinds it further into the wood rather than removing it.
Sanding: revealing what's underneath
For old, worn or heavily marked flooring, a drum sander does the main work of getting down to bare wood, stripping away old stains, finishes and surface damage to reveal the timber's actual condition underneath. An edge sander handles the areas the drum sander can't reach, along skirting boards and into corners, ensuring the whole floor gets an even result rather than leaving untouched strips around the edges.
Staining: enhancing or changing the colour
Once sanded back to bare wood, there are two directions to take the colour. A simple coat of varnish or lacquer enhances the wood's natural tone and texture without altering it, which suits floors where the original colour is still desirable. For floors that are particularly old, damaged, or where the wood's natural colour has become uneven or unappealing, staining offers a way to shift to a different, more consistent shade, sometimes a better route than trying to preserve a colour that's aged unevenly.
Sealing: protecting the finished result
Sealing is what makes the previous stages last. A protective sealant applied after sanding and staining guards against future wear and tear, and getting this step right depends heavily on preparation, the floor needs to be thoroughly clean immediately before sealing, since any dust or debris trapped underneath the sealant shows up clearly in the finished surface and is difficult to correct afterward without redoing the work.
Deciding whether DIY or professional restoration suits an old floor
Older, more heavily damaged floors tend to reward professional experience more than a newer floor with light wear would. Judging how deep to sand, when a section needs board replacement rather than just sanding, and getting an even result across boards that may have aged differently across the room are all places where experience matters. For a floor that's been neglected for years or has extensive damage, professional assessment before committing to a restoration approach is worth the cost of getting it wrong.
If your old wood floor could use a proper restoration, get in touch and request a free quote and our wood floor sanding team will assess what your specific floor needs to look its best again.
Frequently asked questions
How can I tell how many times my floor has already been sanded? This isn't visible without inspection, a professional can assess the remaining board thickness to estimate how much sanding capacity a specific floor has left.
Is a very old, badly stained floor always salvageable? Most are, even with heavy staining and worn finish, though a professional assessment is worth having to confirm the boards are structurally sound before committing to a full restoration.
Should I choose staining or a natural finish for an old floor? This depends on the wood's condition, if the natural colour has aged unevenly or isn't to your taste, staining offers more consistent control than trying to preserve the original tone.
Why does the floor need to be so clean right before sealing? Any dust or debris trapped under the sealant becomes visible in the finished surface and is difficult to correct without redoing the sealing step entirely.
Is DIY restoration realistic for a very old, heavily worn floor? It's more challenging than a lightly worn floor, since judging sanding depth and handling uneven ageing across boards benefits from experience, making professional restoration the safer choice for more damaged floors.